GTA 6 Settings Explained: Controls, Aim Assist, Camera and Audio
GTA 6's settings sit in the pause menu's Settings tab and cover the controls, aim assist, the display, the camera and the audio; the best ones to change first are the aiming and button assists, movement speed and motion blur, and there's no difficulty setting. The game also asks a few questions before the first scene: screen narration, brightness, and whether to look through the settings first.
Before you start
The first screens set brightness (turn it until the symbol on screen is barely visible) and offer screen narration. Then the game points out its one big change to the controls: running and sprinting are on two different buttons by default. If that doesn't suit you, the control scheme can be changed at any time.
Adjust the value until the symbol is barely visible.
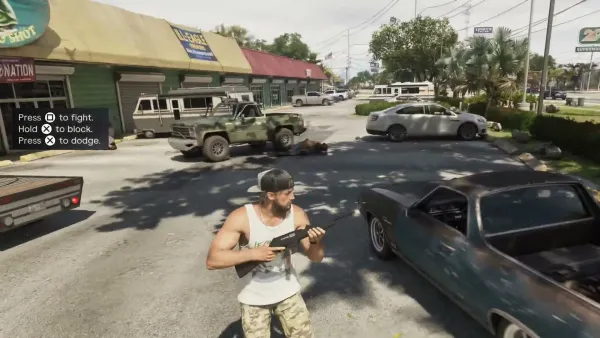
The default controls for GTAVI now use to run and to sprint, but can be changed at any time.
The settings tabs
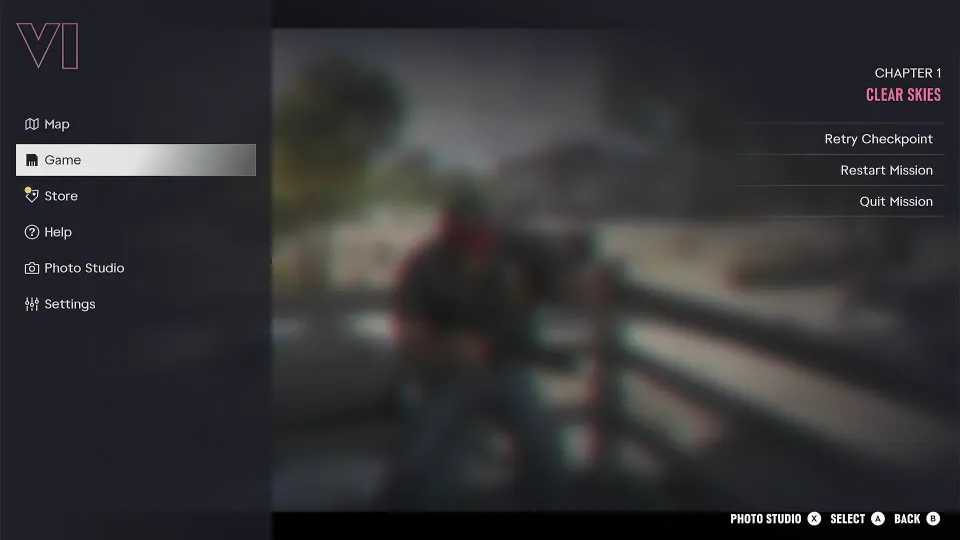
Settings is split into tabs: Control Scheme, Controller, Gameplay, Display, UI, Camera, Audio and Accessibility. Each option shows a short explanation on the right as you highlight it, and every tab has Restore Default and Restore All.
Best settings to change first
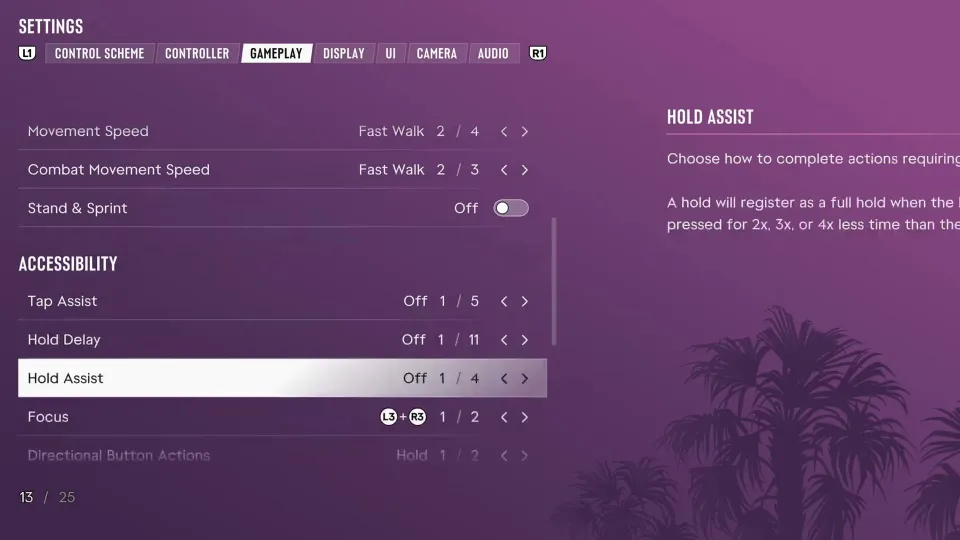
None of these is right for everyone, but each changes something you'll feel in the first hour, and the game's own description says what:
- Aiming (Gameplay, Accessibility): switch from holding L2 to pressing it once, so you don't hold the trigger through every gunfight.
- Tap Assist: makes one press count as 2, 3 or 4 presses, or turns it into a hold, for actions that ask you to mash a button.
- Hold Assist: a hold registers as a full hold when you press for 2, 3 or 4 times less time than the default.
- Stand & Sprint (Gameplay, Movement): stands you up when you sprint instead of keeping you in a crouch. It's off by default.
- Movement Speed: caps the speed the stick alone gives you, in four steps from Walk. On Fast Walk a full push is a fast walk and easing off slows you down; Combat Movement Speed does the same in a fight, unless your normal speed is faster.
- Quick Draw: draws your last weapon when you use it, or the off-hand gun if you carry two longarms.
- Targeting and the aim assists: how much your aim is helped (see the Gameplay section below).
- Motion Blur Strength (Display): a slider to turn down if the blur bothers you.
- Tinnitus Reduction (Audio): cuts the ringing after explosions.
Choose whether you hold or press to aim.
A single press can register as 2, 3, or 4 presses, or can be swapped to a hold.
Stands you up automatically when activating sprint instead of staying in a crouch.
Difficulty settings: does GTA 6 have them?
The settings offer no difficulty level. The first start asks only for brightness and screen narration, then offers to open the settings, and the Gameplay tab is given over to Combat, Movement and Accessibility options.
What you can change is how much the game helps: Targeting can pull your aim toward a nearby target, Aim Assist Strength slows the reticle on a target, Shooting Assist and Drive-By Assist help you track, and the accessibility assists make long presses and repeated presses easier.
The UI and gameplay are also highly customizable to suit your preferences.
PS5 controls and the control scheme
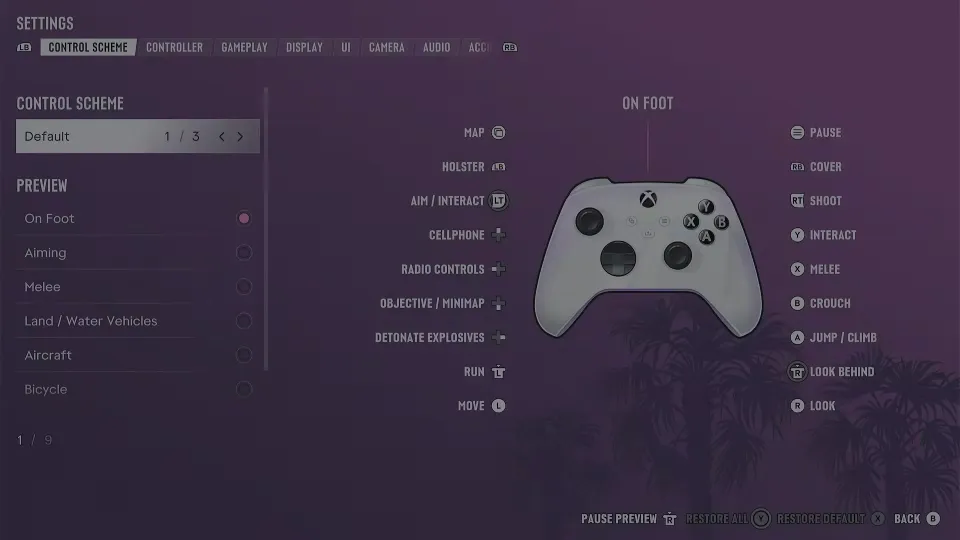
There are three control schemes to pick from, Default first. On foot, Default puts shooting on R2 and aiming on L2 (which doubles as an interact button), cover on R1 and holstering on L1. Square is melee, Circle crouches, Cross jumps and climbs and Triangle interacts; L3 runs, R3 looks behind, the touchpad opens the map and Options pauses. The D-pad holds the rest: the phone, the radio, the objective and minimap, and detonating explosives.
Pick a control scheme and preview what every button does in each situation: on foot, aiming, melee, land and water vehicles, aircraft and bicycle. On foot, the preview covers holstering, aiming, interacting, the phone, the radio controls, the objective and minimap, detonating explosives, cover, shooting and looking behind.
Controller settings: look and aim sensitivity
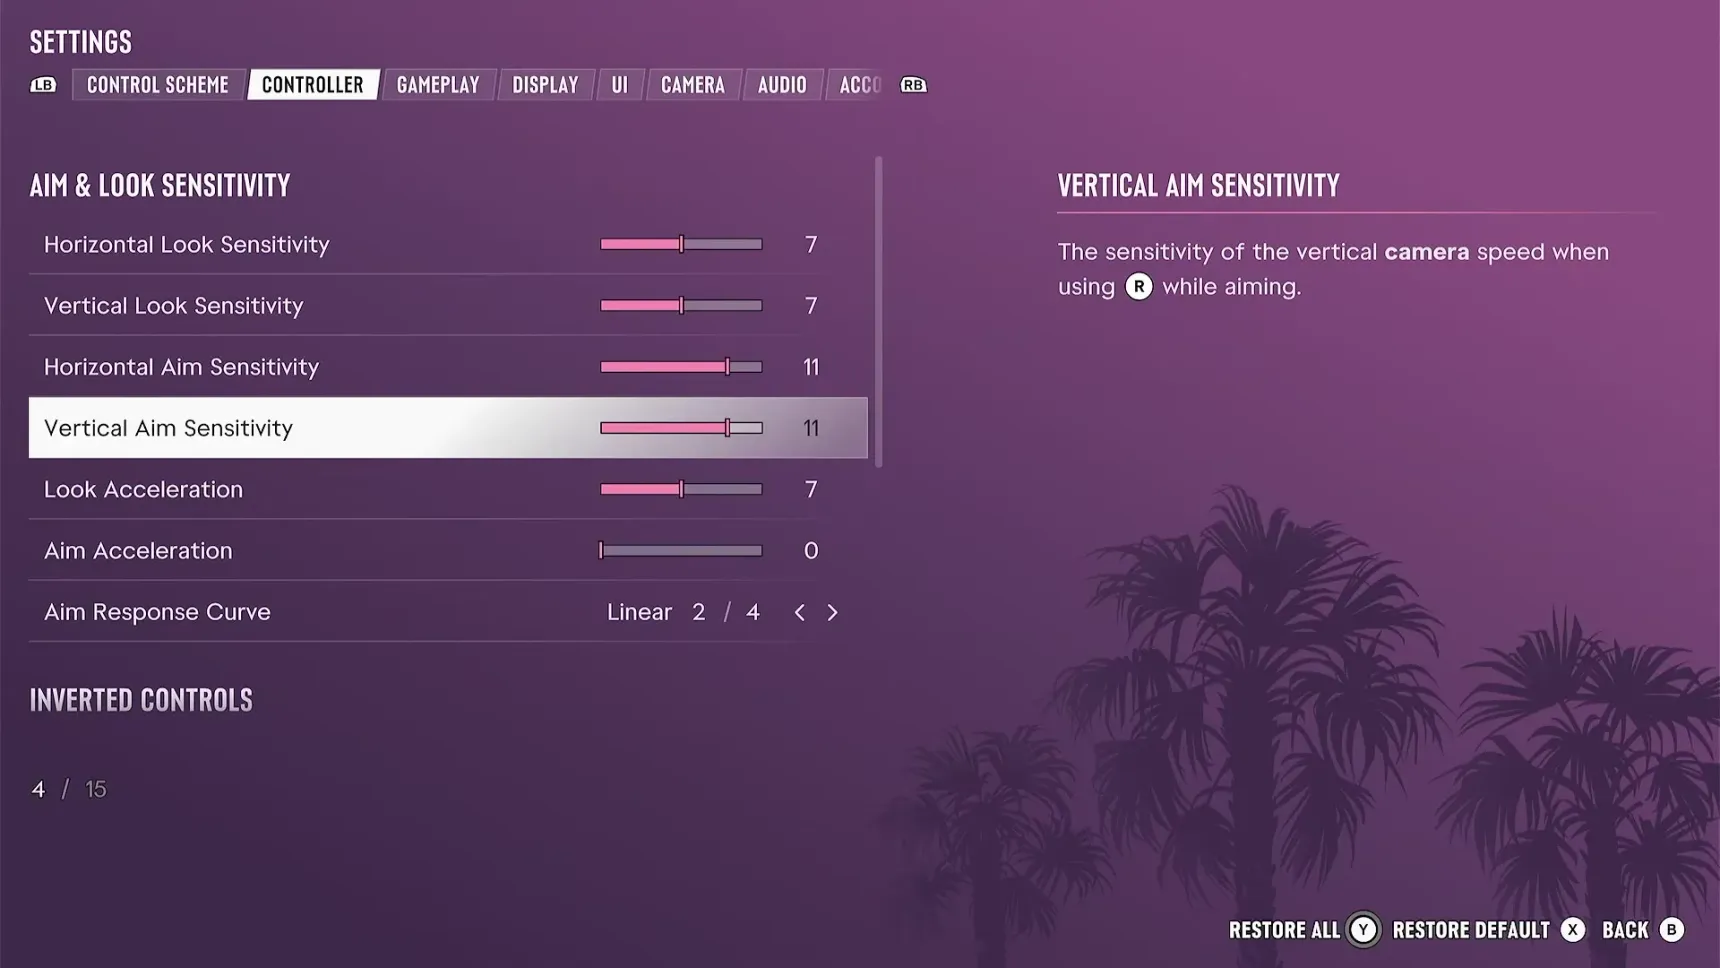
Look sensitivity sets how fast the camera turns when you look around; aim sensitivity does the same while aiming, each split into horizontal and vertical. Look and aim acceleration set how quickly the camera reaches its top speed, and the aim response curve (four options, Linear among them) changes how the stick's movement turns into camera movement. Inverted controls are at the bottom of the same tab.
The sensitivity of the horizontal camera speed when using to look around.
How quickly your camera reaches the highest speed when using while looking around.
Gameplay: targeting and aim assist
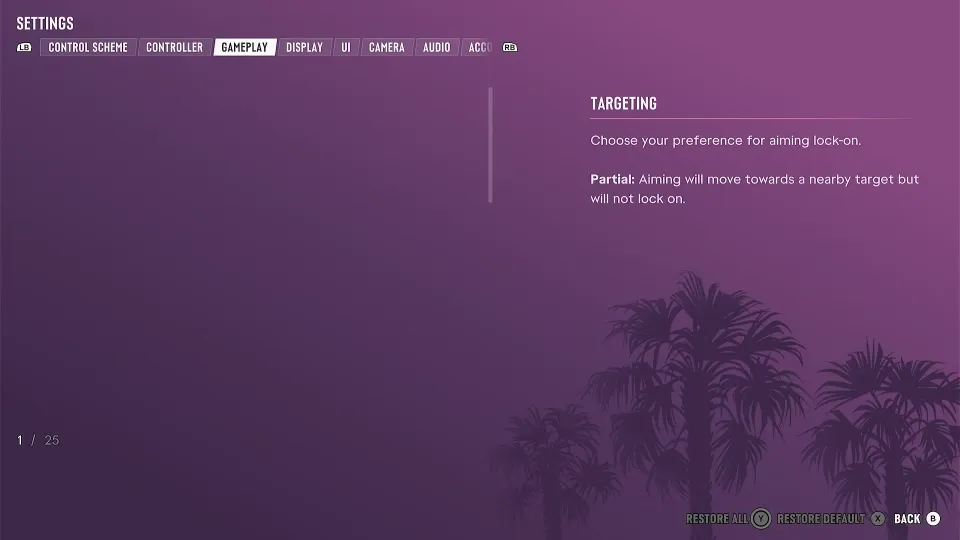
Under Combat you choose how aiming helps you. Targeting sets the lock-on: on Partial, your aim drifts toward a nearby target but never locks on to it. Aim Assist Strength slows the reticle down while it's over a target, and Shooting Assist helps you track targets close by; Drive-By Assist does the same job from a vehicle.
Three options change how guns behave. Quick Draw draws your last weapon when you use it, or the off-hand gun if you carry two longarms. Cover Selection decides whether the camera's direction counts when the game picks your cover. Holster in Vehicle puts a drawn gun away by itself after a short time in a vehicle out of combat, or leaves it to you. Combat Movement Speed sets how fast you move in a fight (see combat).
Choose your preference for aiming lock-on.
Partial: Aiming will move towards a nearby target but will not lock on.
Slows down the movement of the reticle while aiming at a target.
Choose whether the camera orientation is considered when finding a position to take cover.
Display and visual effects
Display sets the safe zone (the HUD's distance from the screen's edges) and the visual effects: how strongly the screen reacts to low health or stamina, to hits (blood spatter, bullets whizzing by, armor hits) and to awareness, plus motion blur strength, dismemberment, blood and gore intensity and how bright a flashbang is.
Two options help with seeing things: a colourblind mode for the focus trail, and high contrast shaders. A contrast filter softens bright lights without touching the HUD, though the game warns it changes how scenes look.
Applies a filter to the world that softens the output of bright lights without impacting the HUD.
Graphics and performance modes
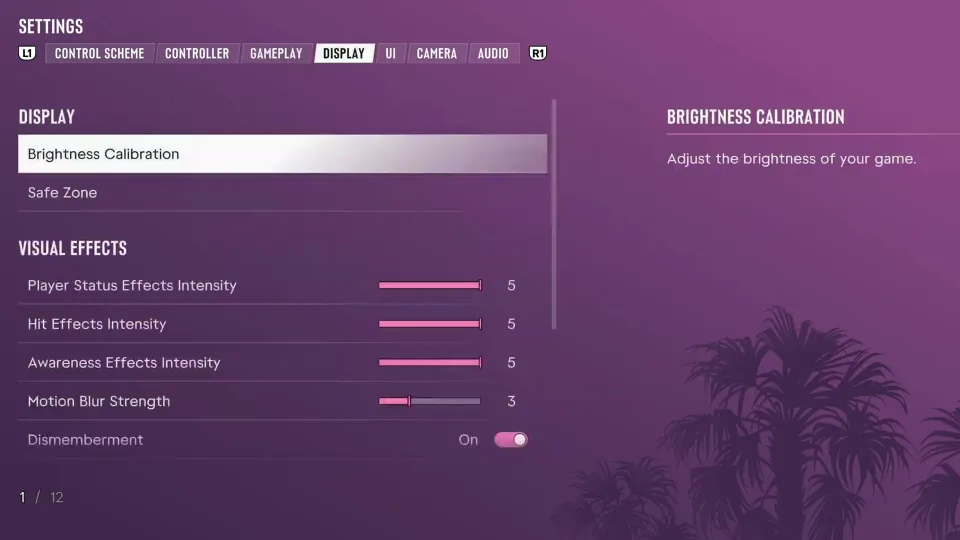
There's no graphics tab, and Display's twelve options are all listed: brightness calibration, the safe zone, the visual effects sliders, dismemberment, blood and gore, the flashbang, the colourblind focus trail, brightness reduction and high contrast shaders. None picks a resolution or a frame-rate mode, so there's no quality-or-performance choice to make inside the game on PS5 or Xbox.
Camera
The Camera tab sets the camera's height on foot and how quickly it follows you, sideways and up and down, with separate settings for land and water vehicles. In the game you can also hold a button to switch between camera options, adjust the camera on foot or in a vehicle on the spot, and lock the camera onto a target in a chase.
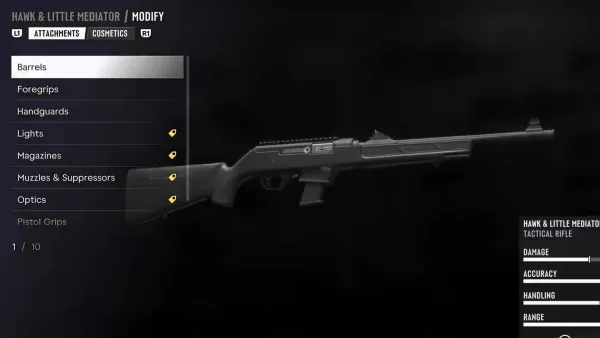
A first-person view comes with a sight: fit an optic to a gun and R3 switches to it while you aim (see weapon customization).
Hold to view and adjust your camera settings on foot.
Hold to view and adjust your camera settings in a vehicle.
Press to lock the camera onto the target.
Audio
Audio has mono audio (the same sound in both ears), tinnitus reduction to cut the ringing after explosions, the controller speaker, the cop scanner, the GPS voice and the vehicle radio. Mute Licensed Music silences licensed songs, while music captions still show. Volume is split into master, dialogue, music and media, and screen narration reads out most menus and the HUD, in English only.
Reduces ringing effects after explosions.
Mutes any licensed music.
Narrates on-screen text for most menus and HUD.